Joy, fluffiness, and know-how behind the lens
When we think of newborn photography the first things that come to mind are soft, warm colors and cute, happy babies. But to achieve that, there are a few things you need to know about; from safety and babies’ needs during photography sessions to props, lighting, and post-process. So let me give you some guidance through the entire process and those little bundles of love will turn out perfect in your photos!
Props and Accessories
Of course, you want to make the sweetest newborn portrait that makes everyone gasp at first sight, and probably think you need A LOT of props in all kinds of colors, many different materials (textures), and tons of teeny tiny baby accessories to achieve that. But the truth is, and I’m speaking this from experience, less is more! The baby is the focus of the photo, not the props. A warm blanket on a bean bag or an ottoman and colorful stretchy fabric to swaddle the baby can draw more attention to those plumpy cheeks and rosy lips.

Here are some tips on the things you will need and how to use them in your newborn photography sessions:
Ottoman, bean bag or pillows
First of all you need something to put the baby on, and ottoman or a bean bag is perfect for it. Pillows can be good too if they are big enough and not too soft. We don’t want our little model to disappear completely into the fluffy sinkhole. Pliable but not too soft, it serves as a good base to put blankets over or other materials for a backdrop on top, and baby will feel comfortable so you can pose her the way you wanted (hopefully).
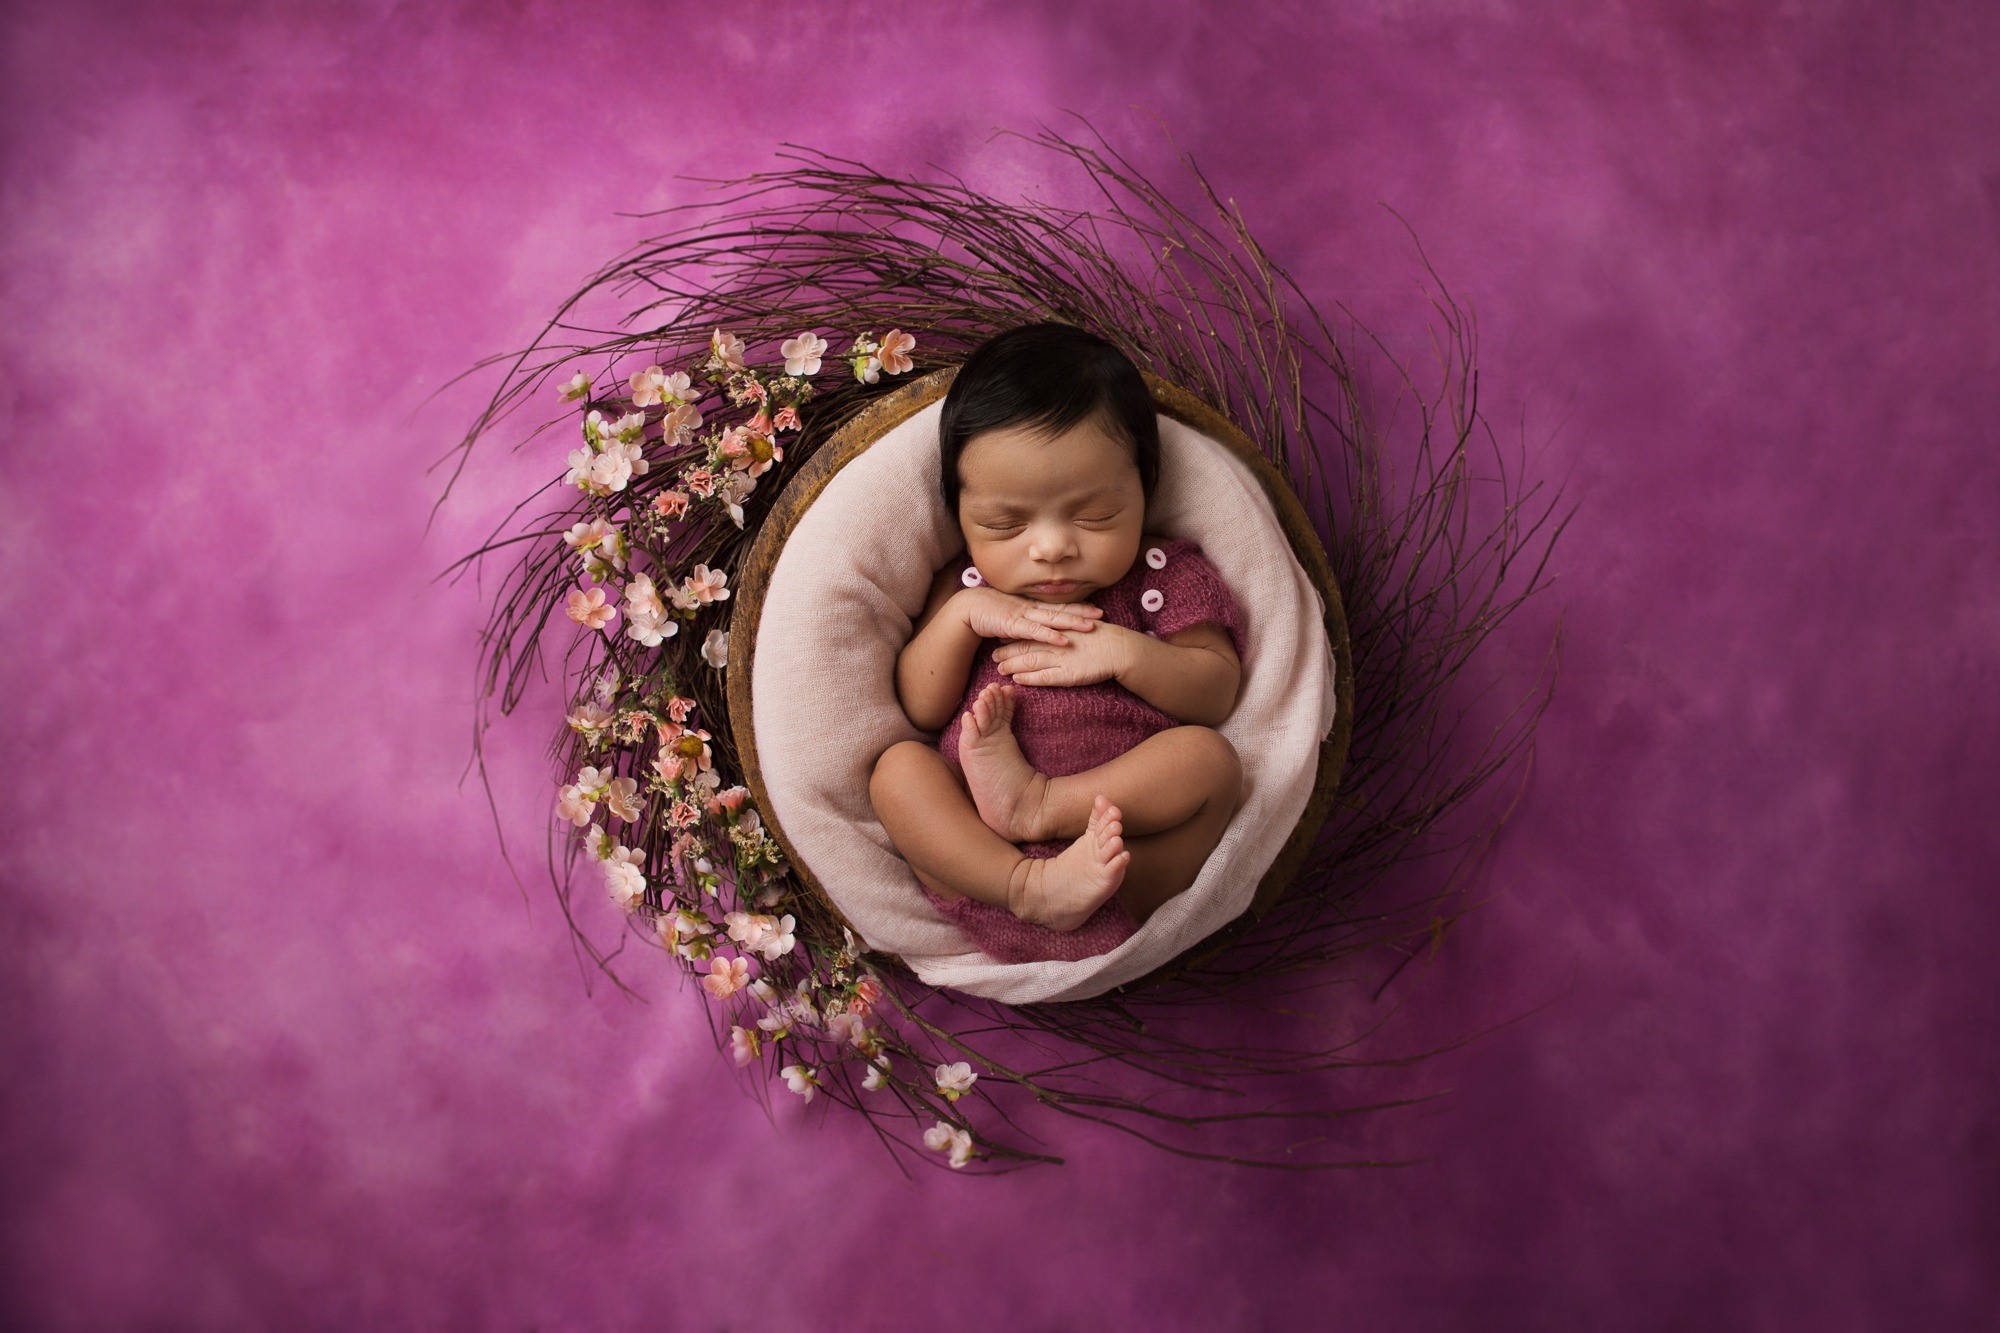
Baskets and/or buckets
Also great ideas for those sweet curled baby positions, like they are in a nest, a cocoon or as little peas in a pod. You can use all kinds of materials underneath (towels, blankets, small cushions, nursing pillows, even scarves, etc.), it will look great. Of course, be sure that any rough materials from baskets or buckets are well covered, so not to scratch the baby. Safety is the most important thing when it comes to newborn photography sessions, but I’ll talk about that later on.
Blankets and towels
You can use layers of blankets to create that almost-smooth but soft and comfortable surface for baby to lie on. The less wrinkly the better. Towels can be used for underneath the blankets or as a foundation (for example) in baskets and nests, which you can cover with the variety of fabrics. Of course, you have to be careful not to smother the baby by piling on too many soft fabrics one on top of the other.
Backdrop
Every good newborn photographer knows that backdrop is essential for creating that consistent, smooth, creamy look around the baby in your photos. It helps to avoid too much editing of those wrinkles and creasing that your blankets make in post-process later.
Waterproof sheets and basic cleaning items
You are photographing newborns after all, especially since they are naked, without a diaper, which means some “accidents” are almost bound to happen. My advice is to use waterproof sheets (or something similar) between the blankets so the little soiling-machine wouldn’t mess all of you layers easily. Also, baby wipes, paper towels, and other baby-safe cleaning items are a must. You’ll need to have them at hand so you can quickly react when messiness happens. Having your hands clean (you can also have a hand sanitizer with you) is essential when handling a baby, also be sure your nails are not sharp because you can scratch or hurt the little one.
Heater and heating pads
You need to create a warm and cozy environment for the littlest ones, especially since you will be photographing them with little or no clothes on to show that new baby soft skin. I use diaper cover to avoid any “accidents” that will make me prolong the photo session (blankets, pants or baby rompers), but even then the baby can feel little chilly if the room is not warm enough. My advice is to use a space heater (I put it near baby’s back and tush), and heating pads underneath the blanket. That should be enough to keep the munchkin warm, content, and cooperative. They are the boss of this photo-shoot and (usually) as long as they are well fed, warm and on a soft surface they won’t mind you posing them, moving their little arms and legs around.
White noise app
Sleeping baby is less fussy and better to pose so I recommend a free white noise app “white noise baby” that works for me very well. Well snuggled like that the little one gives me all the sweetness I need for a great portrait.
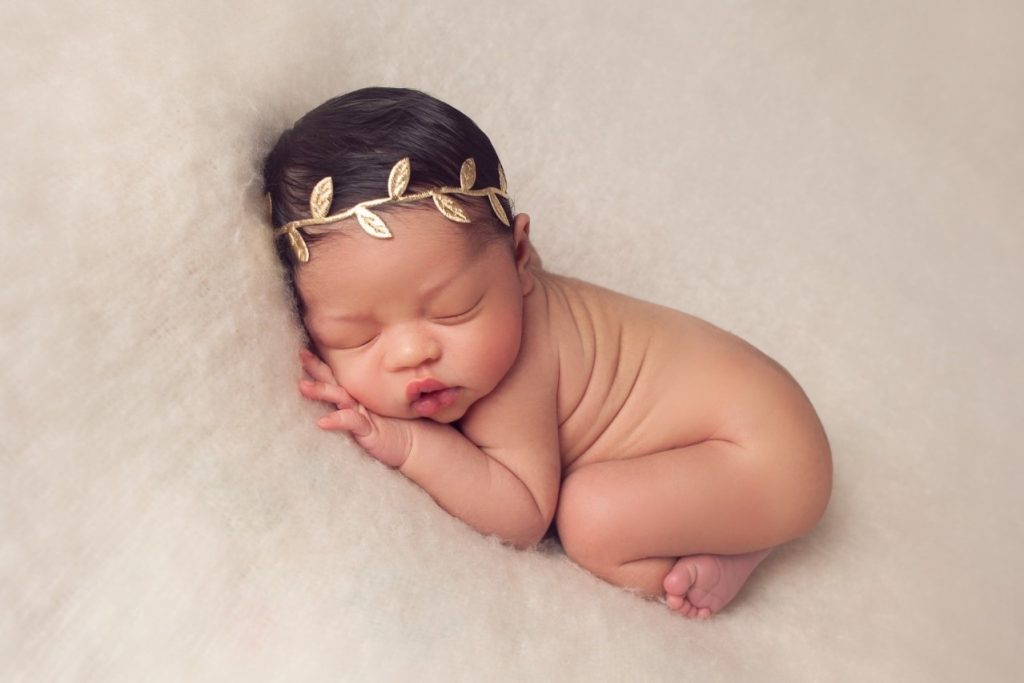
Accessories
Oh yes, you can go overboard with little hats, headbands, stuffed animals and anything else that comes to your mind, but to me, simple is the best. Like I already said the baby is the most important thing in the photo, so don’t pile on too much stuff that will draw attention away from her. Having a simple stretchy fabric for baby swaddling, stretchy hats (so they can fit ahead of any baby), and a few headbands will go a long way.

Planning and preparation
When planning a newborn photo session it is very important to explain to your clients (parents) from the start what it takes to have a successful one. Tell them how you do things, your approach, what is the best time for them to come for the shoot (before the baby is two weeks old), where it will take place, how long it will last (usually about 3 hours), what will you be expecting from them (they are a great help during the sessions) and so on. Also, you need to ask them a few things about the baby: when is a due date (when arranging the photo session, before the birth) and later (after the birth) a baby’s timetable. This way everyone will know what to do and be more relaxed which helps have a great, successful session.
So, here are a few of my tips for successful planning and preparation of photo session:
Knowing the baby’s age
It makes a big difference when it comes to the age of your little model. The perfect time would be after the baby loses her umbilical cord but before the two-week mark when it’s harder to put them in those sweet curling positions (that come more naturally before the baby’s second week). So, let’s say somewhere between little ones 5th and 14th That doesn’t mean that I’m not going to photograph the older or a younger baby, just that it’s easier to position them and keep them content and less fussy. Also, with older babies you may find useful my tips on how to play with newborn.
Feeding and nap time
When planning the session with parents I always emphasize how important are the feeding and nap time for the success of the newborn photo-shoot. When the baby is fully fed right before the session it will sleep longer during the process, be more content, so I will have more time to take better shots. That goes for nap time as well. Parents need to keep the baby awake (if they can) until they arrive at the studio, so I can have a longer time between the naps to do my thing.
Safety first and foremost!
Nothing during the sessions is more important than the baby’s safety. You or a parent should be watching over her at all times, never should the baby be left unattended. Your area for photo sessions needs to be solid, sturdy and clean, as well as your props and accessories. Don’t put the baby on anything that might tip over or under something that might fall on her. Newborns cannot yet hold their little heads so when you see a photo of a baby that looks like its head, arms or legs are almost floating it’s brought to you by the magic of parental help and Photoshop.
 |
 |
Safety is always number one during a photoshoot and we never leave babies unattended
Swaddling and wrapping the baby
When babies are this little, swaddling and/or wrapping can soothe the baby enough for you to do the shooting. The best way is if the baby is already asleep; when she is comfortable she will cooperate more and allow you to pose her the way you planned. That way she won’t fuss when you try to position wrapping fabrics and accessories on and around her.

Heat up the room
I already mentioned that you will need the heather, so you should heat up the room to approximately 75-80 °F an hour before the session.
Lighting and angle
In every photography session besides good equipment, the most important thing you can use to your advantage is lighting and good angle. That is especially true in newborn photography; since your little models are (presumably) not moving around much, getting the right angle and setting the lighting the right way is crucial for the quality of details in close-up (macro lens) photos.

Every parent wants to have close-ups of their little ones perfect silky eyelashes, pinky toes, and fingers, puffy lips, and cheeks. My tips on how to use lighting and angle to your advantage, to capture those flawless details:
Continous lighting system
I use continuous lighting system, same lighting conditions every time. That means when you adjust the system and camera properly, and decide on the pose of your little model, what you see before you is what you will get in the photos.
Natural lighting
If I choose natural lighting, big windows and sliding doors give me that soft light that is so complementing on baby’s skin and shadows which emphasize the details on it.
Posing
Photographers can sometimes find it challenging when giving directions on posing to models. But when working with newborns, you are the one that must literally put the baby in the right position. I always leave “naked” poses for the very end, because I want to avoid any “messy” accidents at the beginning of the session.
There are some simple poses that both beginner and professional photographers use:
Back pose
Put the baby on its back, and fingers on her tummy.
Side-Lying Pose
Gently position the baby on her sidearm and cross its legs.
Tummy pose
Place the baby on her tummy, while being careful with positioning her neck and head.
Editing
 |
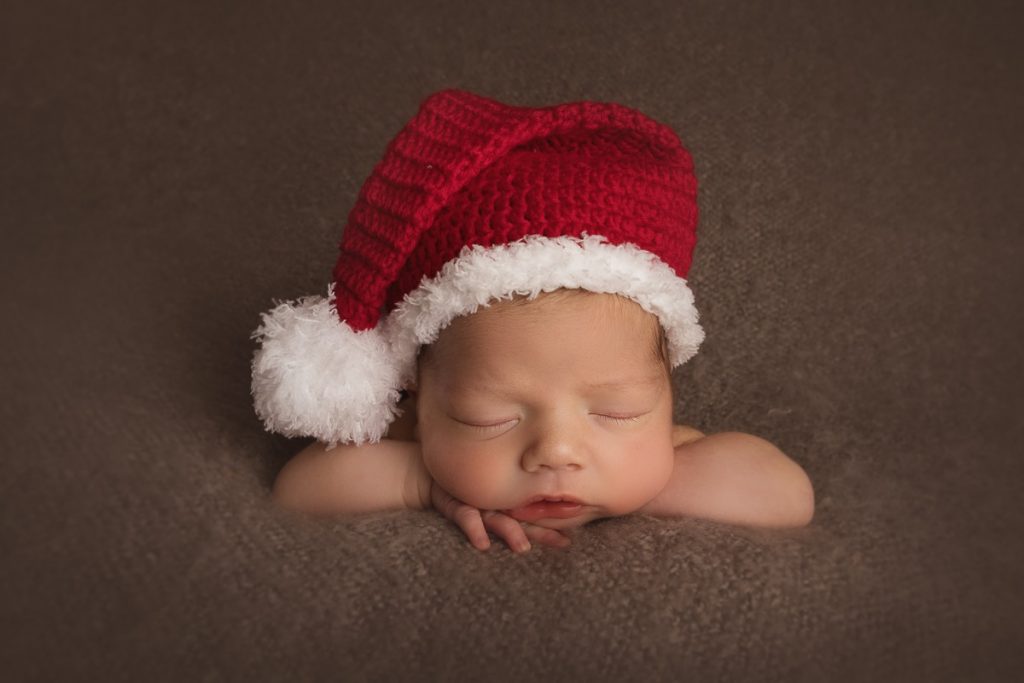 |
Before and after photo of edited-out hand
When in post-processing, a newborn photographer should remove any unnecessary things from the background and should pay attention to details on baby’s skin, so my advice is:
Preserving baby’s skin tone
Preserve baby’s skin tone while removing any imperfections such as blemishes, blotches, birthmarks, acne etc. Try to achieve that soft look without making your fresh newborn look like a doll.
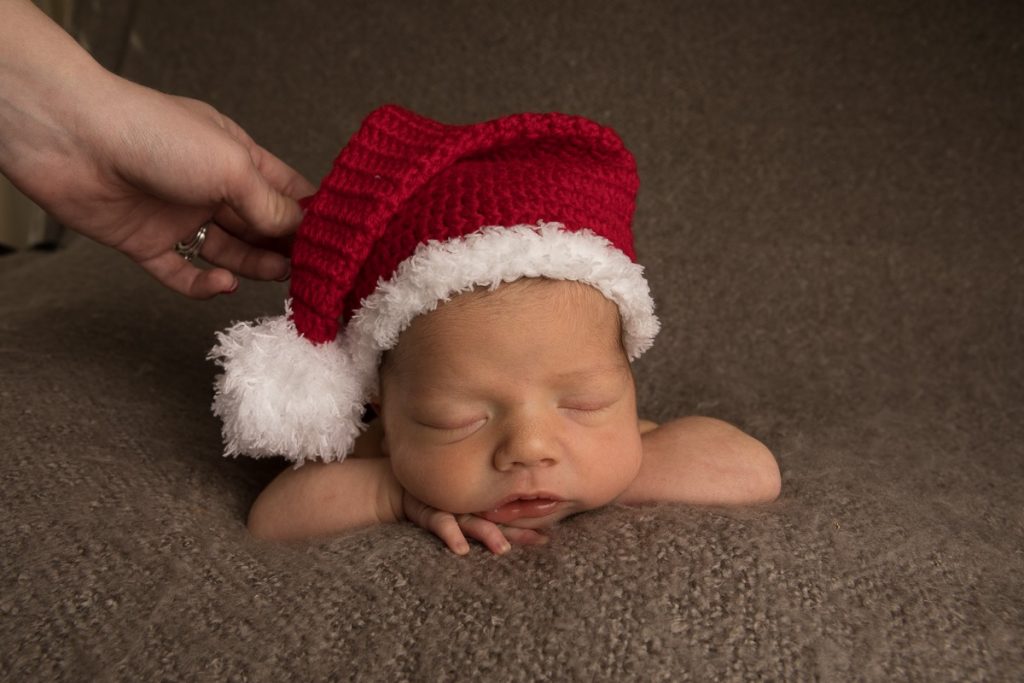
Help from parents
Having a parent(s) help you while shooting is a common practice, whether they are holding baby’s head, some other part, or a prop. While very helpful, when the time comes to Photoshop your pictures, those helping hands should be removed from the scenario.
Time to make beautiful photos
I hope that these advices will help you choose a good professional newborn photographer if you are a parent, or that you can use some of my tips if you are photographer yourself.
For more inspiration check out my newborn gallery.
And if you like my work and are looking for a professional newborn photographer in Baltimore – feel free to contact me.