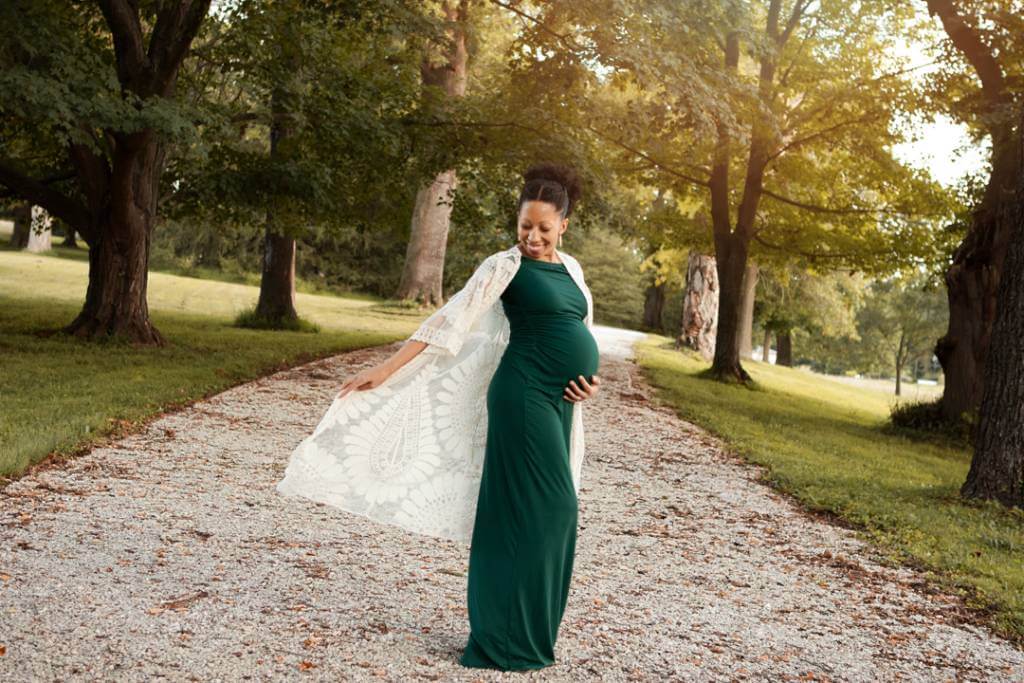
What to Wear for a Maternity Photoshoot: Outfit Ideas from a Baltimore Photographer
Knowing what to wear for a maternity photoshoot is the question I hear most from expecting moms before their session,
Knowing what to wear for a maternity photoshoot is the question I hear most from expecting moms before their session,
If you are wondering how long a newborn photo session takes, here is the short version: about two to three
If you are researching posed vs lifestyle newborn photography, you have probably noticed that the two styles look almost nothing
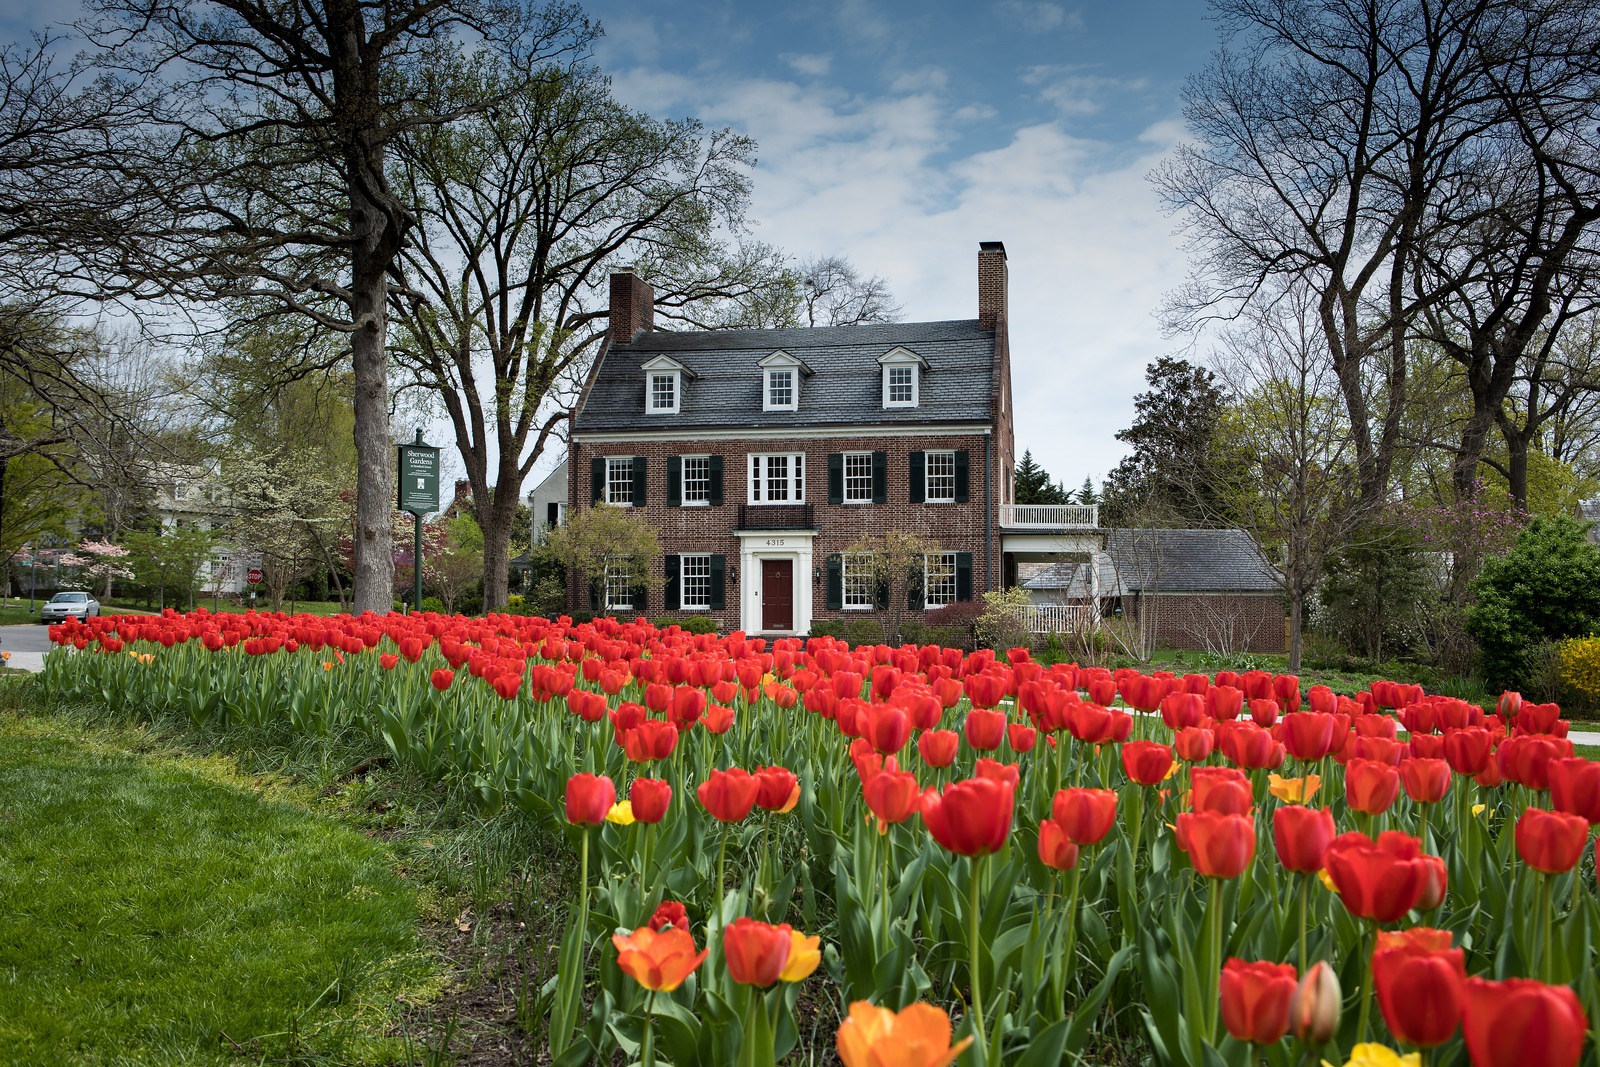
Without a doubt, Baltimore is the coolest city on the East Coast. Aside from its rightful place in American history

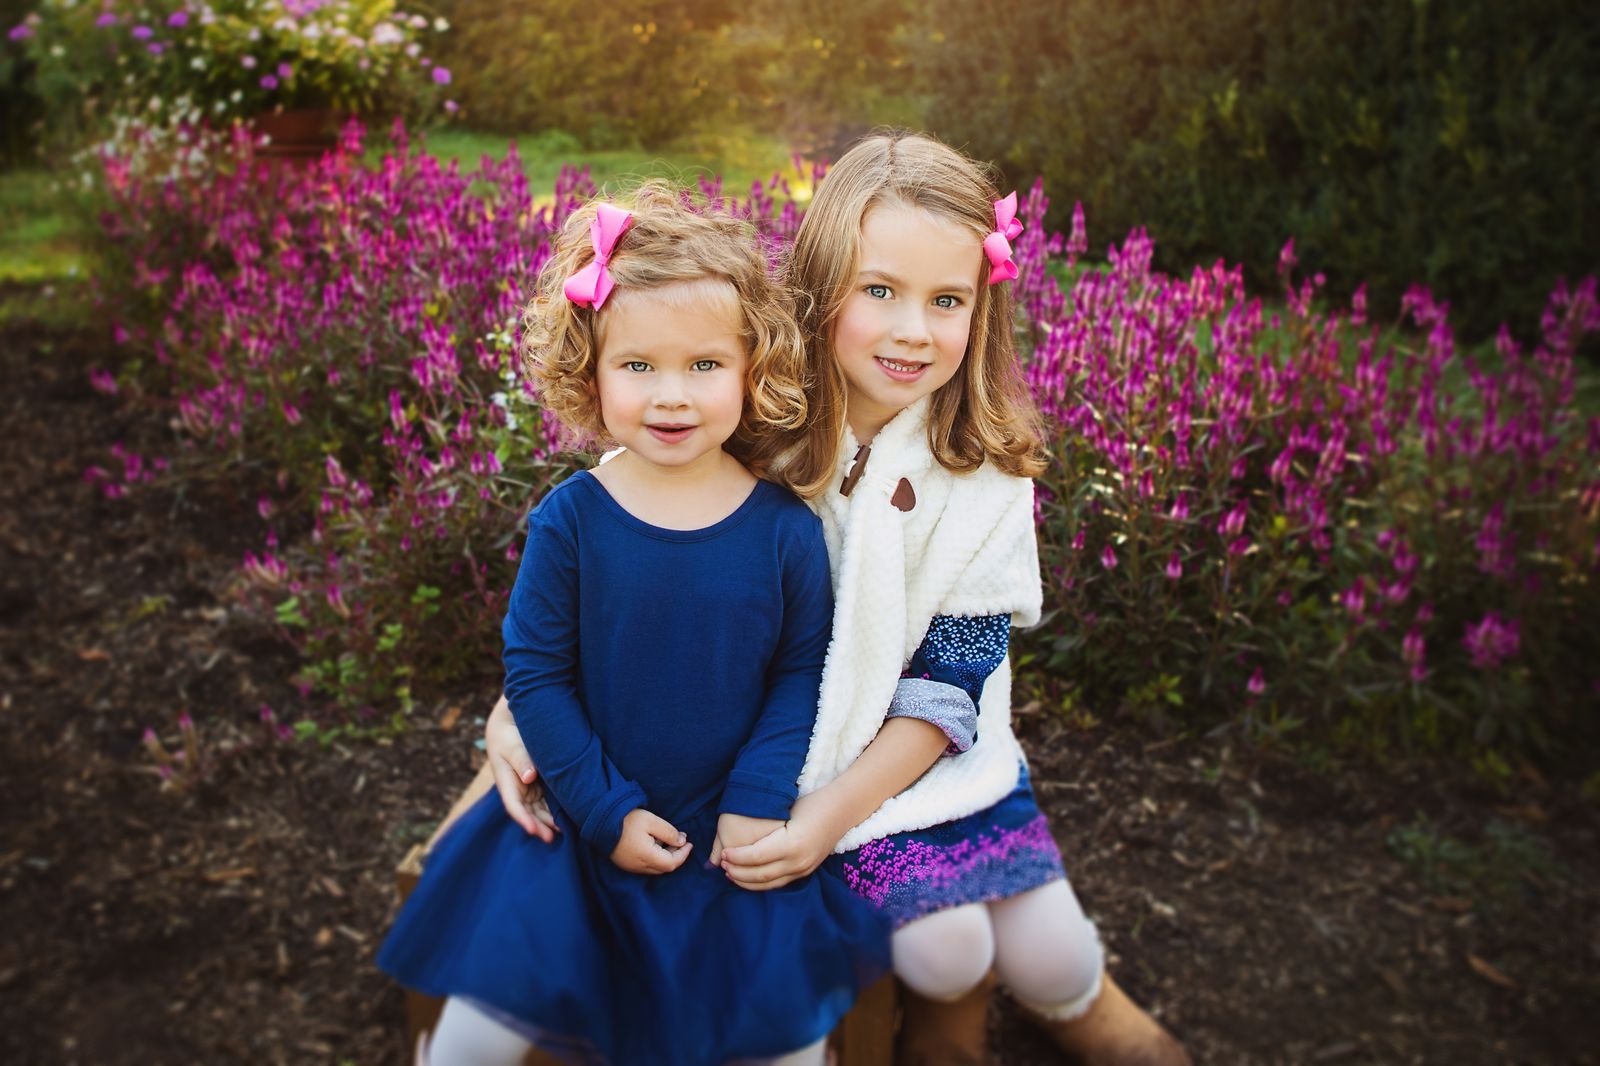
There’s something truly extraordinary about twins. Two tiny faces, two sets of perfect little hands, one incredible family moment that

There’s a moment I look forward to in every newborn sibling photoshoot – when an older brother or sister leans
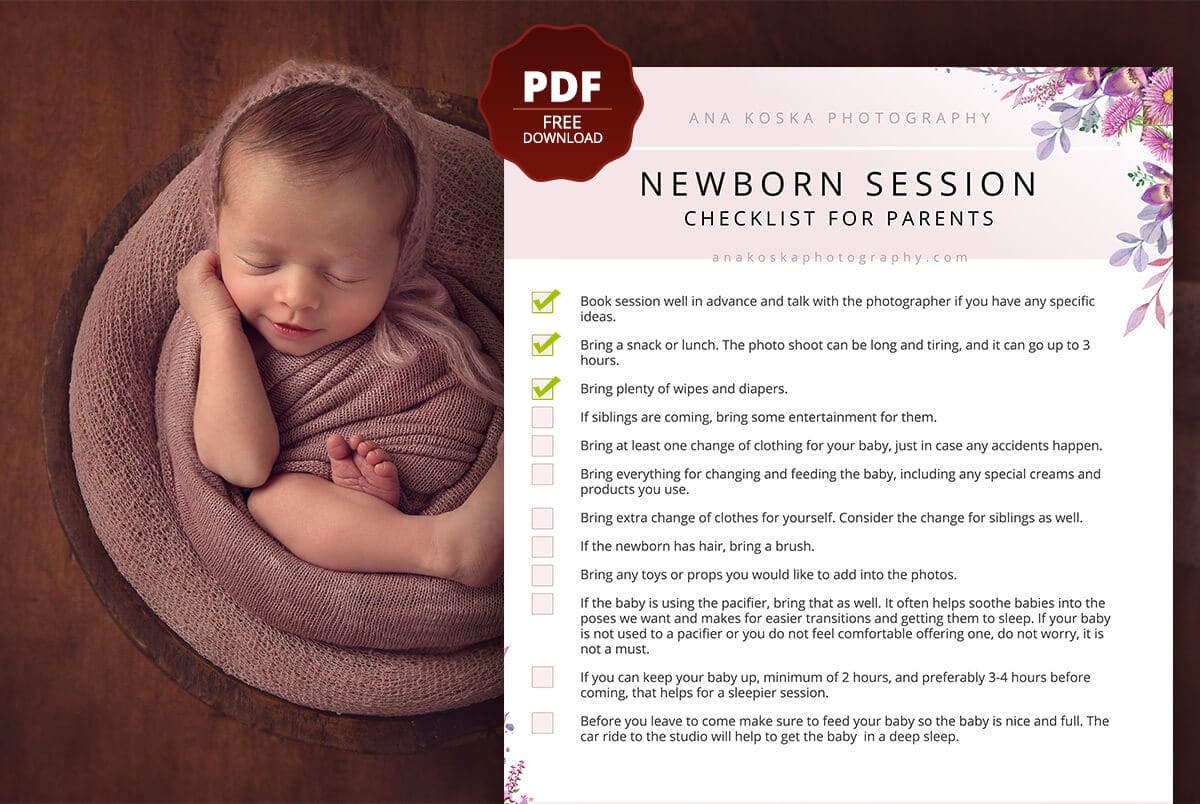
Choosing the right outfits for a newborn photo session can make a noticeable difference in how your final images look
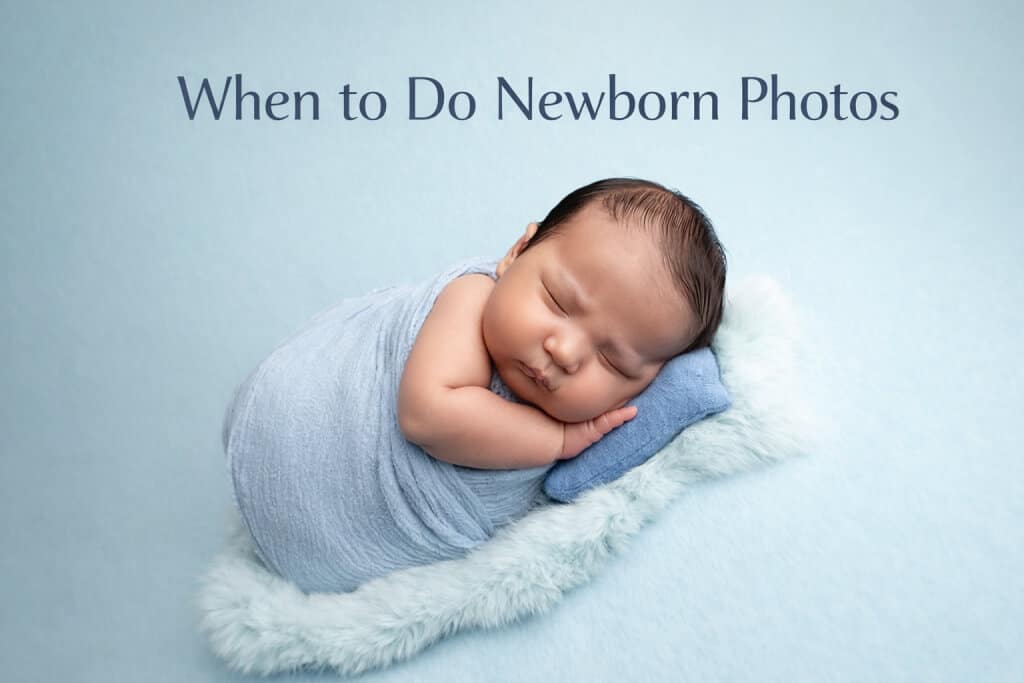
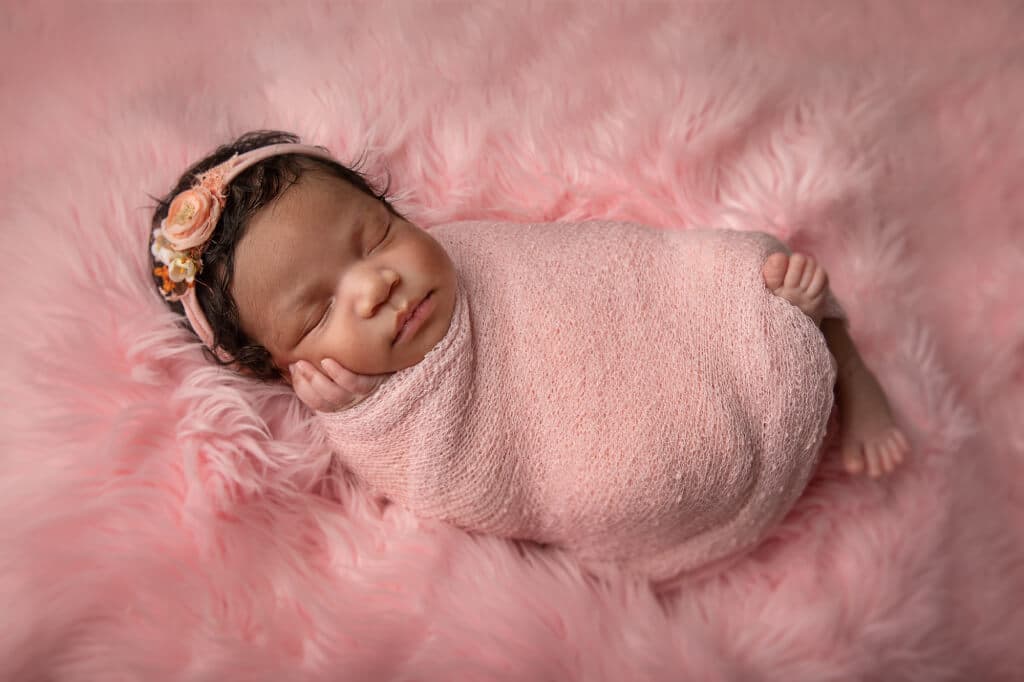
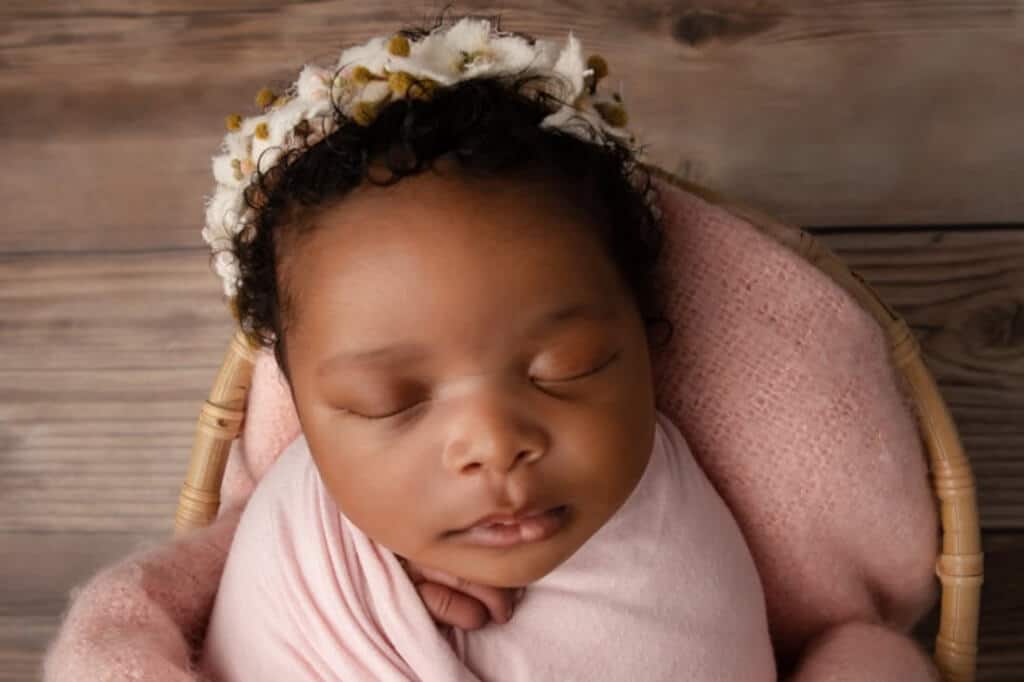
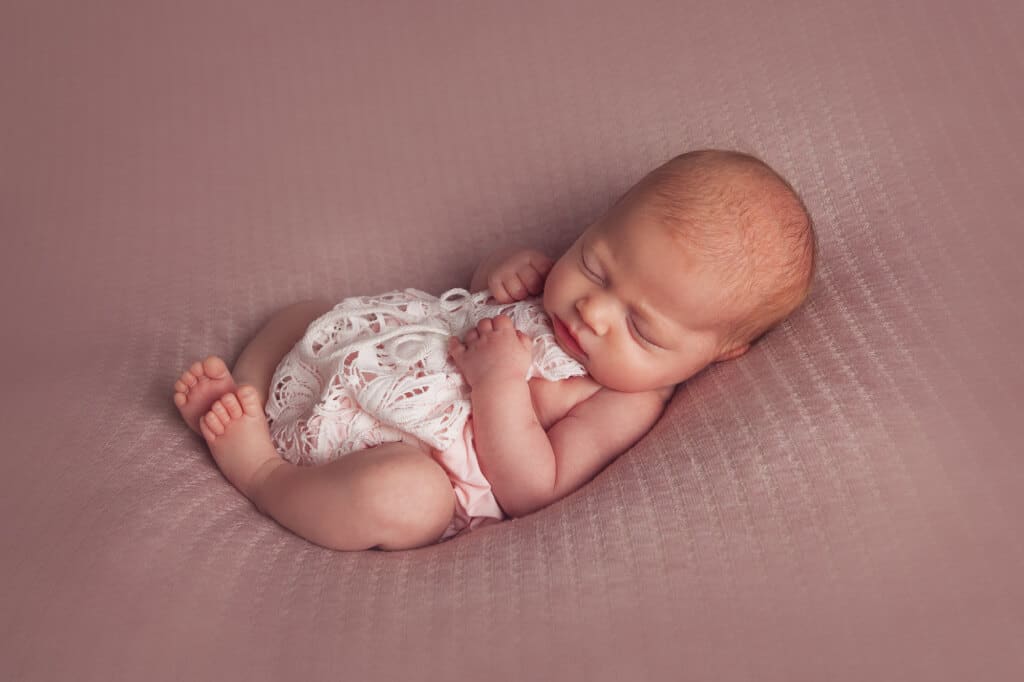
The first days of a newborn’s life pass quickly, and timing plays a key role in capturing those fleeting details.

Finding the best gifts for new parents in Maryland can feel overwhelming, whether you’re shopping for a sentimental gift for
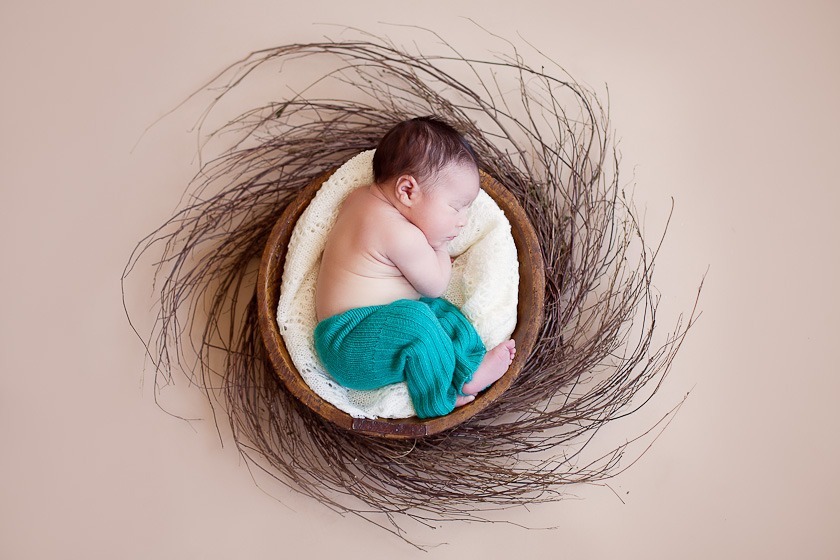
Newborn basket photography turns tiny details – relaxed hands, serene expressions, soft layers, into portraits filled with warmth, intimacy, and
The first hours after birth are filled with love, warmth, and unforgettable emotions. Capturing them through newborn hospital photography transforms
So – the big day has arrived and you have a new member in your family. Congratulations! A few days
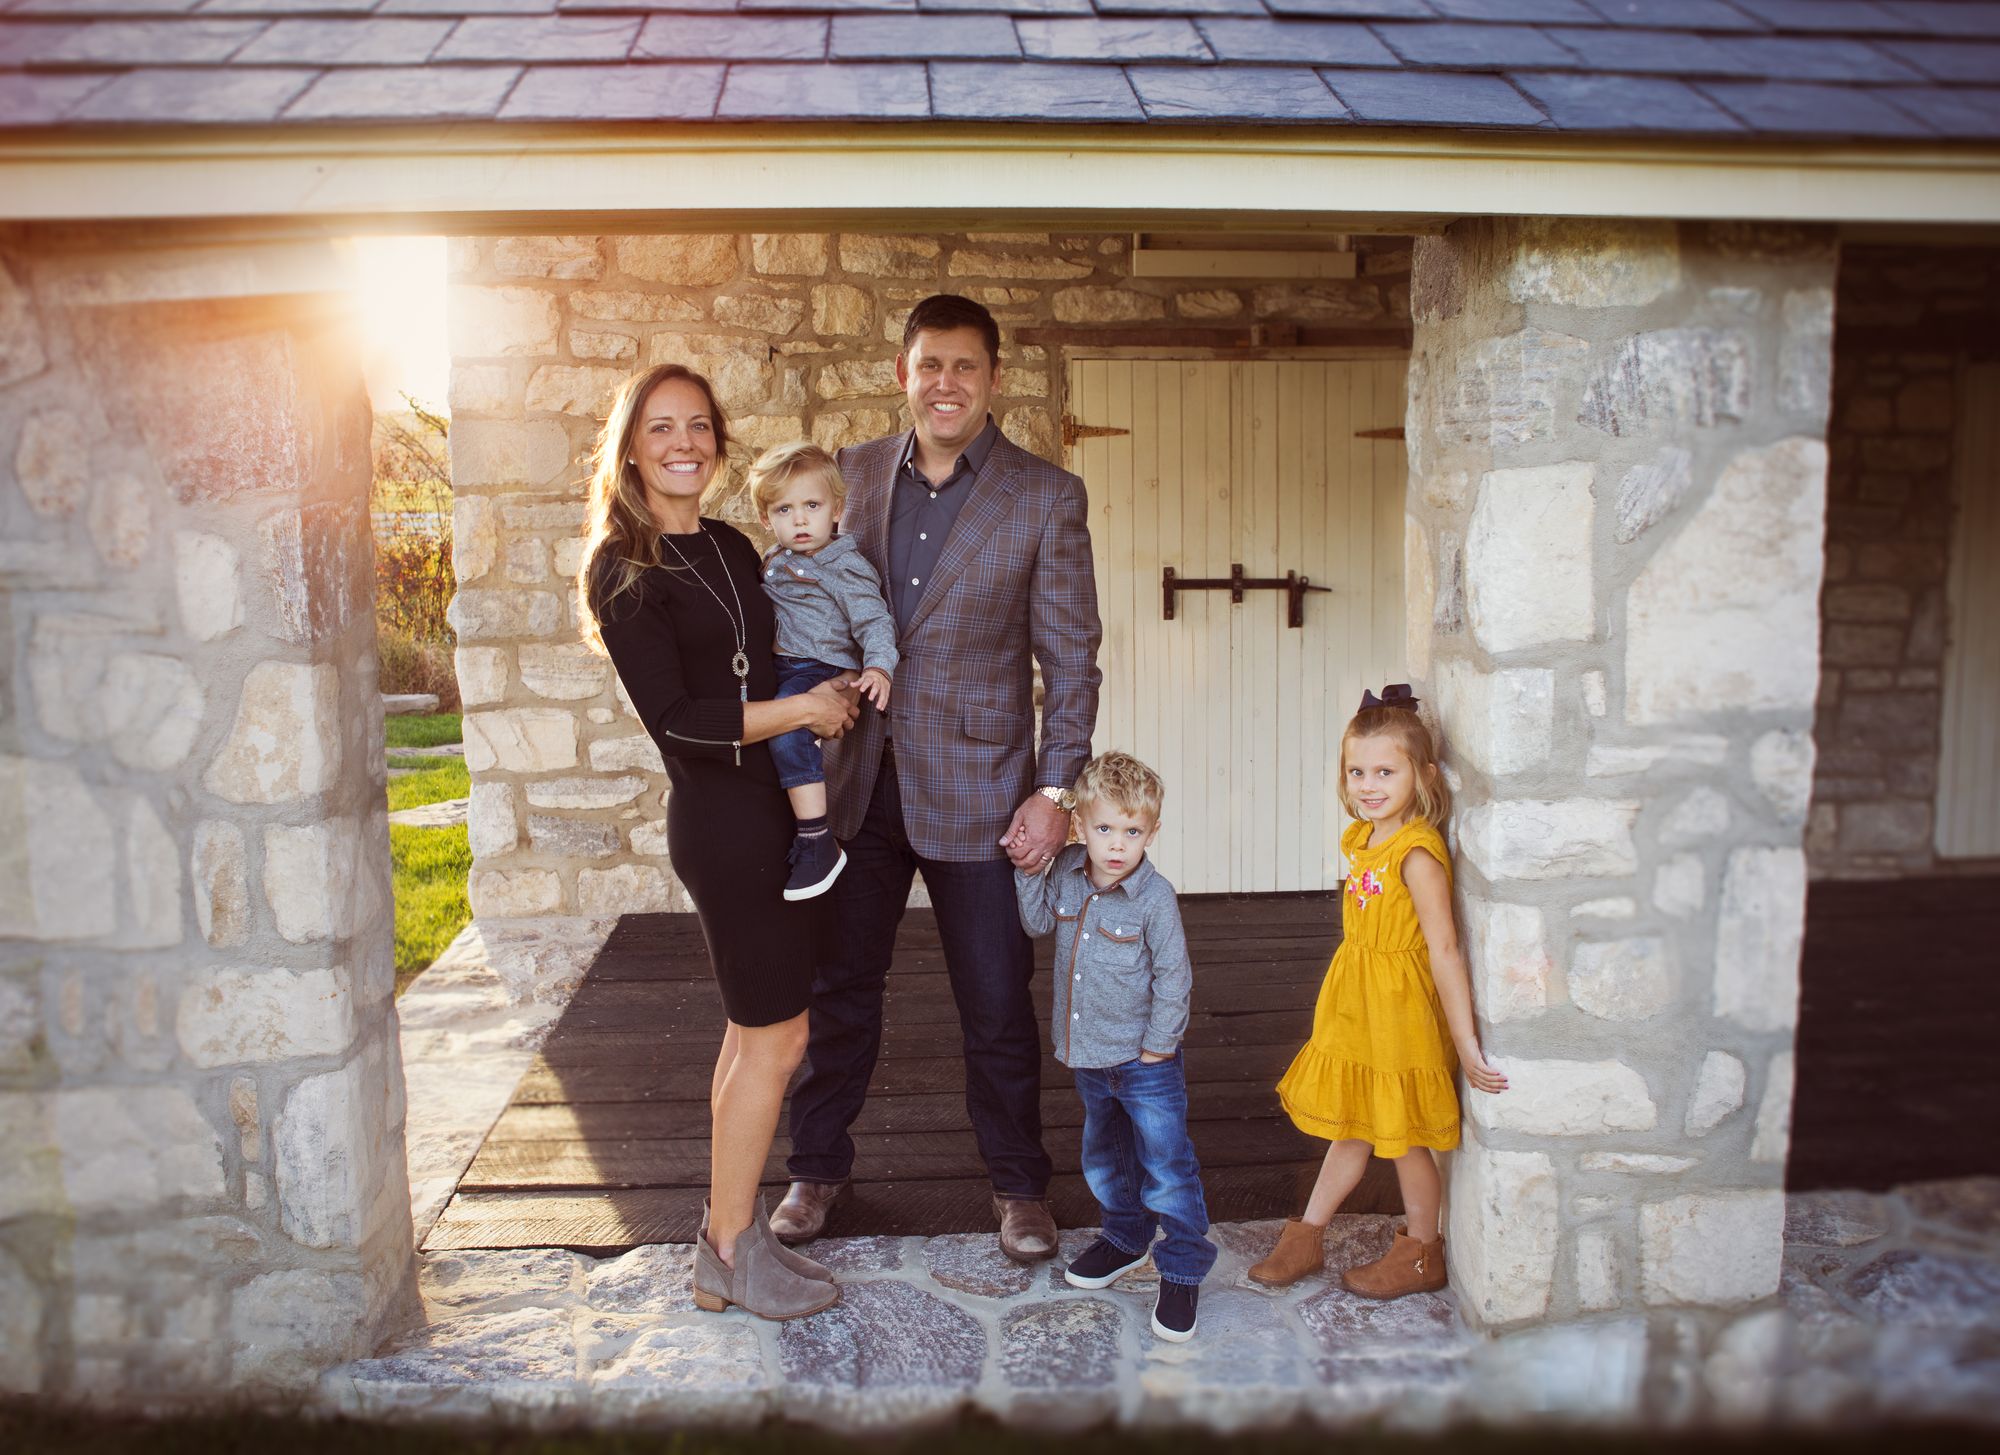
What to wear – dressing your family for photos When shooting family photography, the way all the outfits and accessories
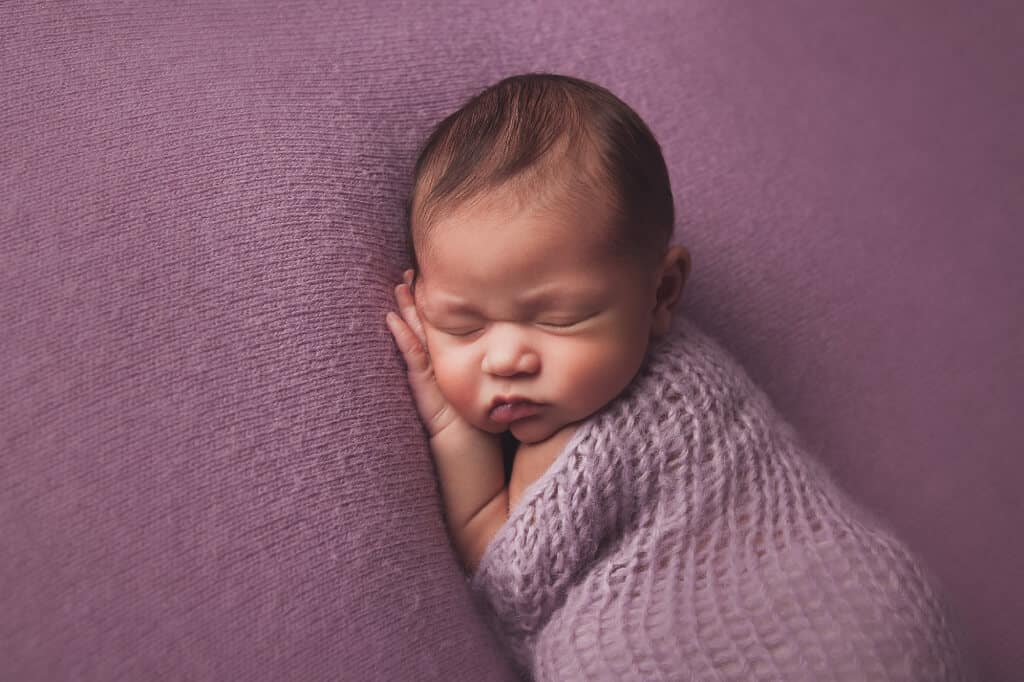
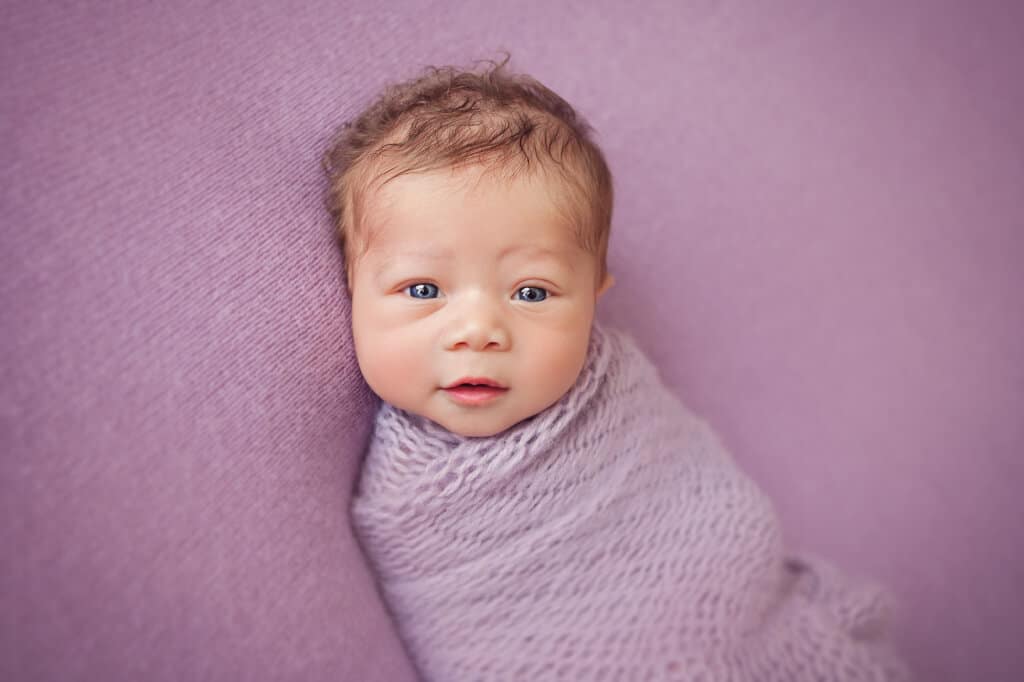
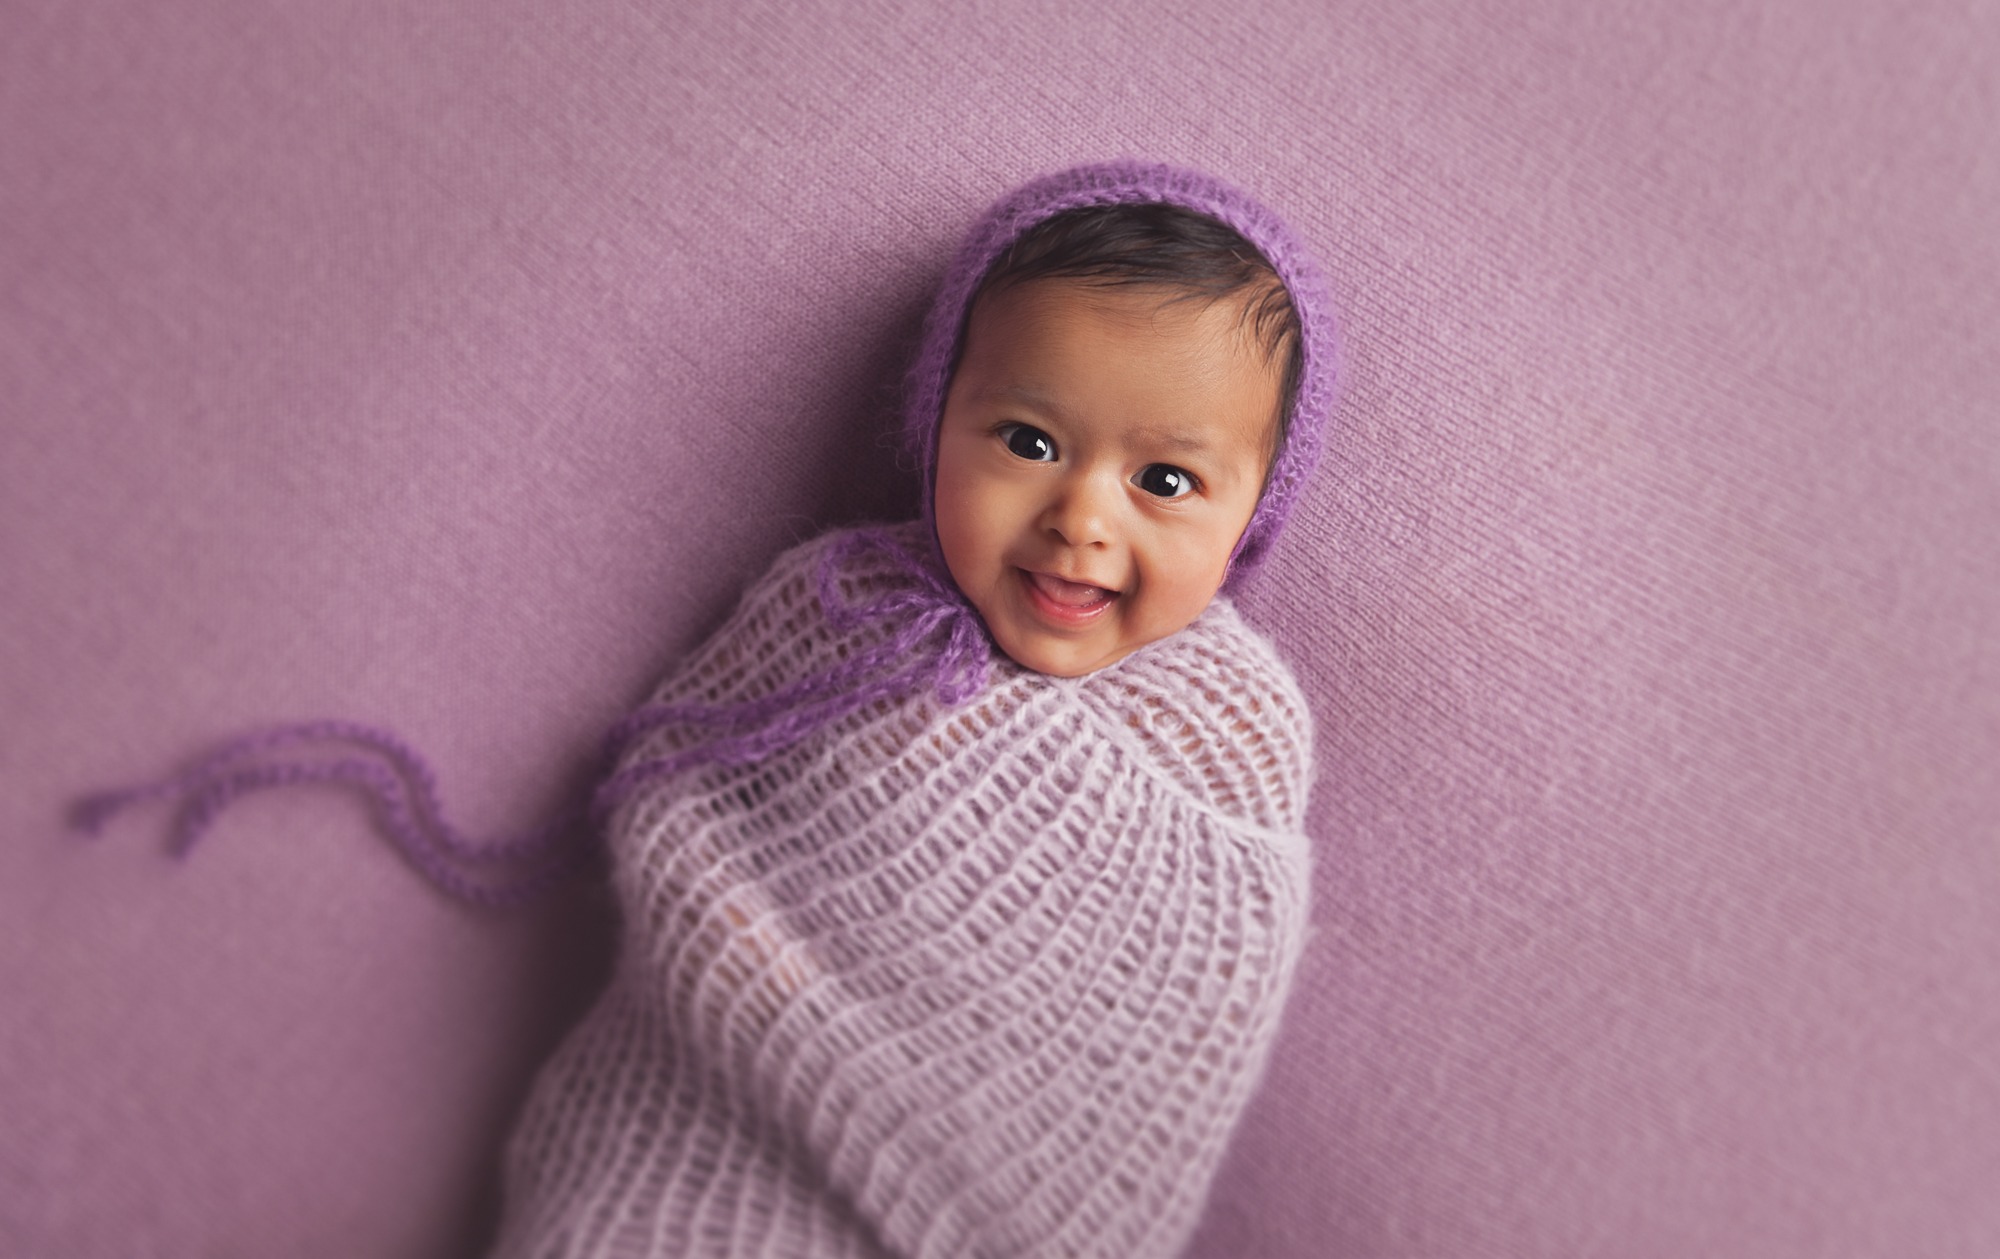
Newborn photography is my favorite type of photography. Nothing comes close to the feeling of capturing such beauty. Since I’ve
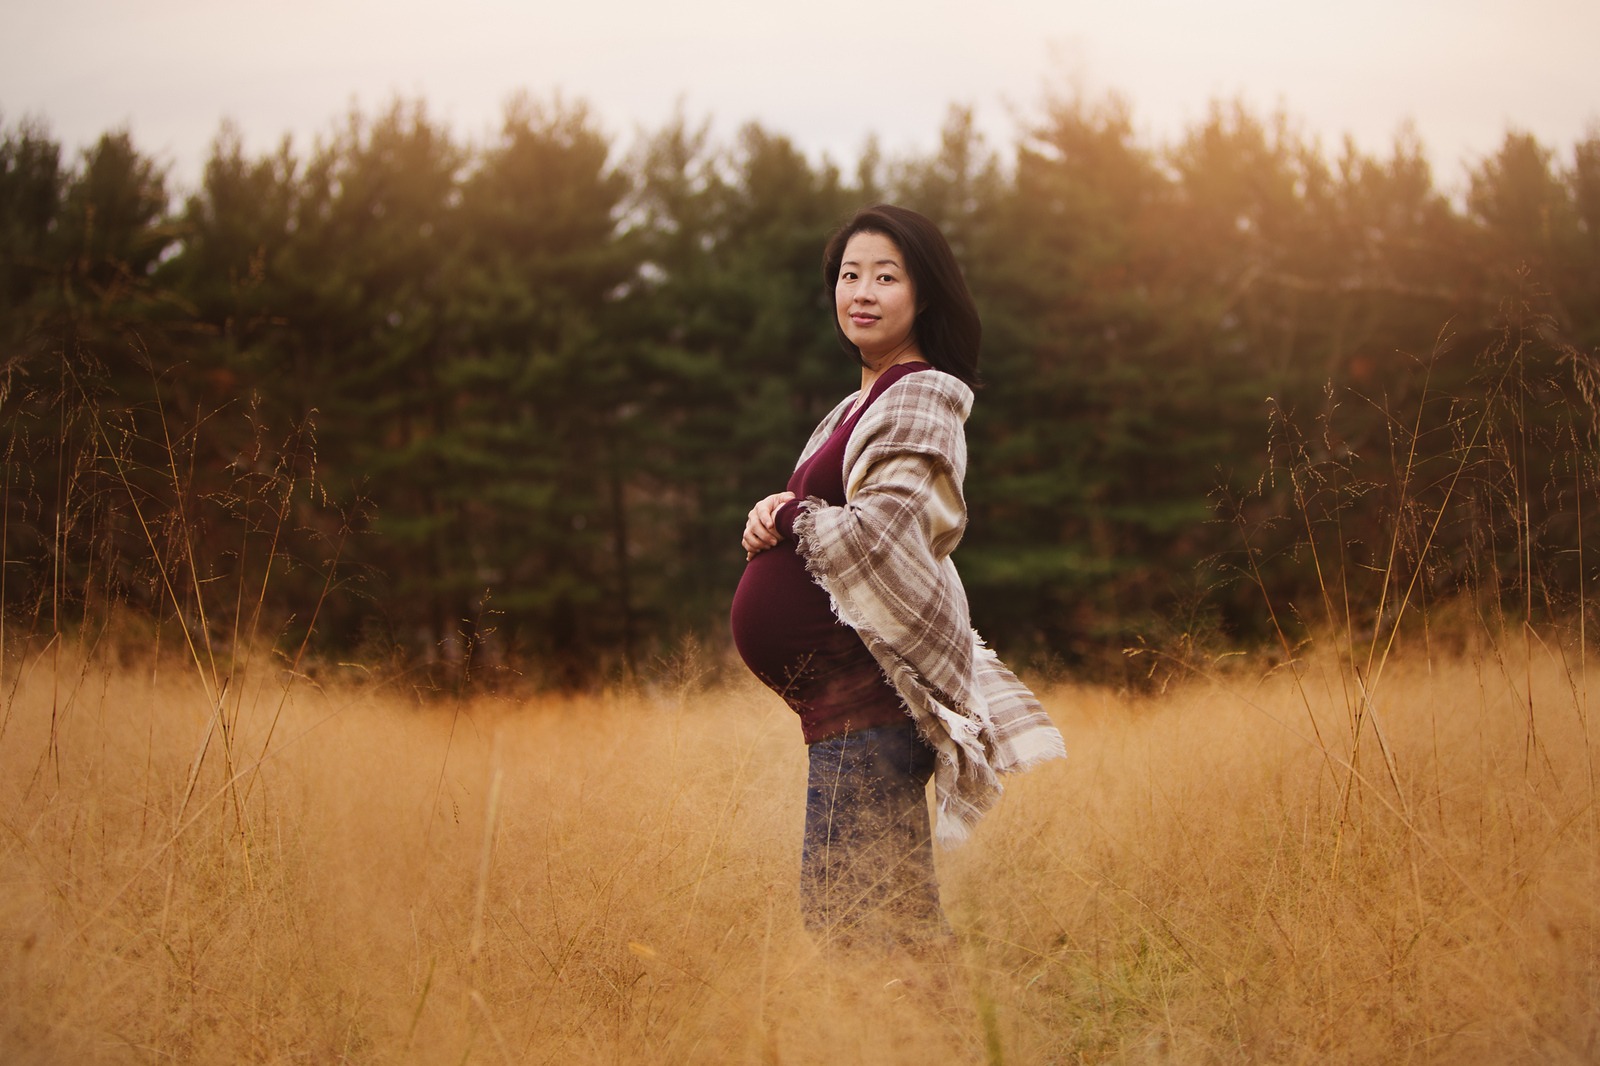
If there’s something I love doing, it’s definitely maternity sessions. Happy, glowing moms come, and get to show off their
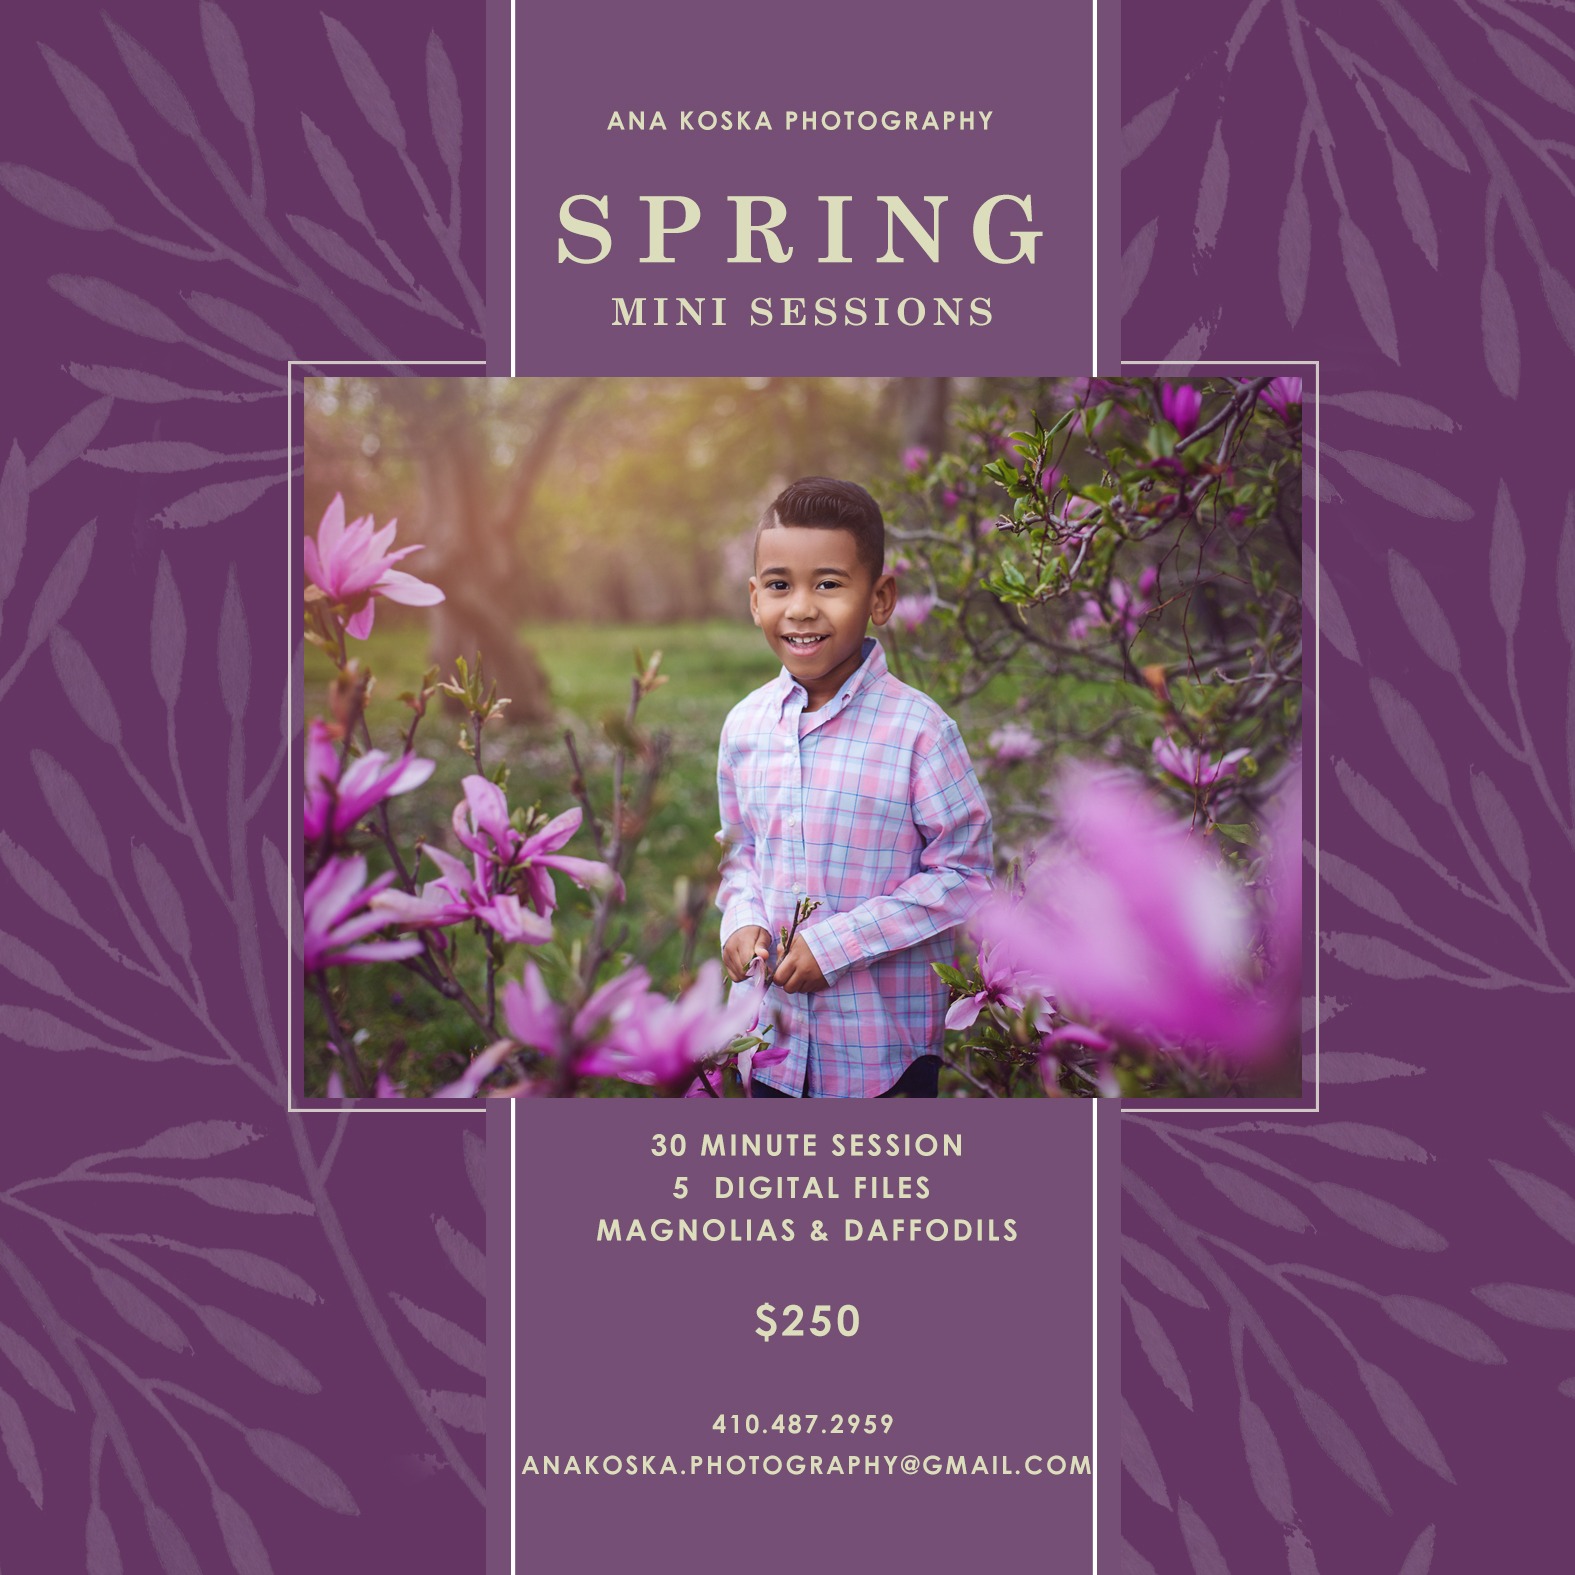
This spring, I am taking you to one of my favorite daffodil fields and magnolia tree flower beds for always
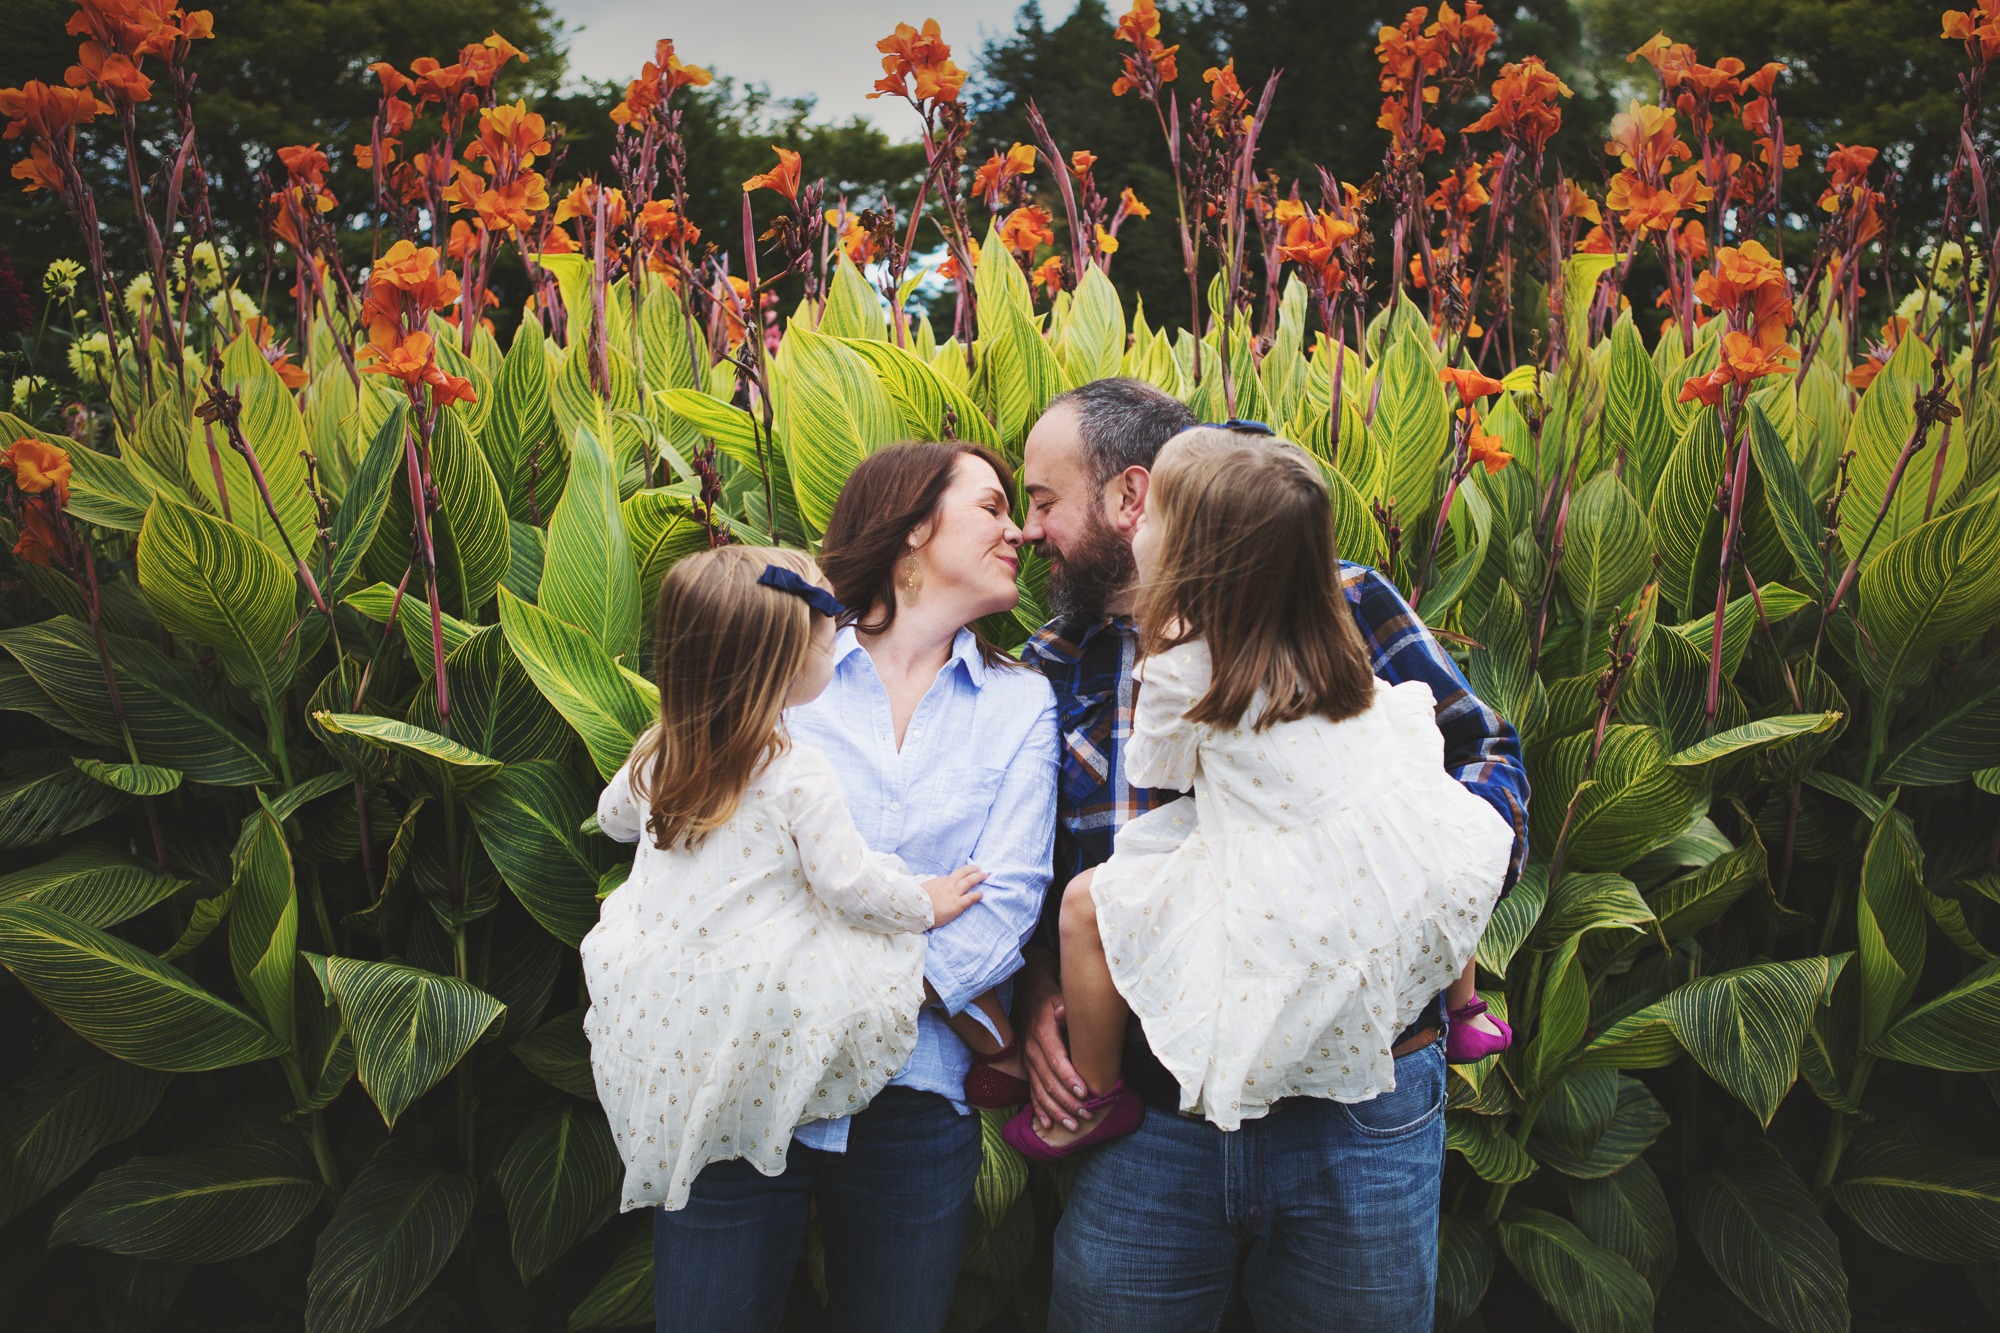
Working with a large group of people, especially on family photography, can be tricky for many reasons – from dealing
Play for newborns is essential in many different ways, but not always easy to carry out. Here are some ideas
It’s that time of the year again when everyone’s perfect holiday photos are just popping out and making you want
This is just a part of some of my best sessions from baby and children photography that I wanted to share with